Install the extension
Download the latest version of the Easy GCalendar. Next, go to your Joomla backend administration area and install it via Extensions -> Install/Uninstall.
Now all required extensions of Easy GCalendar are installed.
Set your timezone
In your Joomla Global Server settings, change the time zone to your timezone. The timezone you set is important to display the calendar items in the right timezone within the calendar.
Setup your first calendar
Before we can display results on the Site it is necessary to setup at least 1 or more Goolge Calendar entries within the Administration that could than used later on within the component & modules.
- Click on Components > Easy GCalendar > Calendars
- Click on New Button
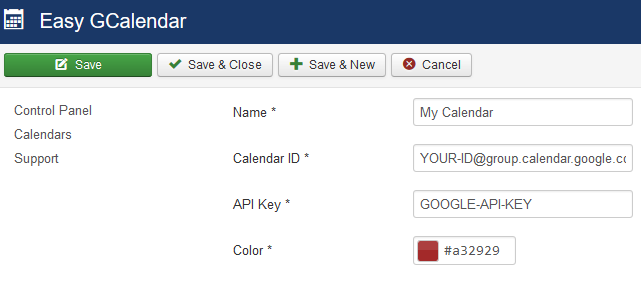
- Fill out the form completely
- Click on Save & Close Button
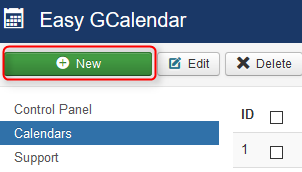
If everything was successfully you should now see your newly created calendar listed within the list:

Setup your calendar site
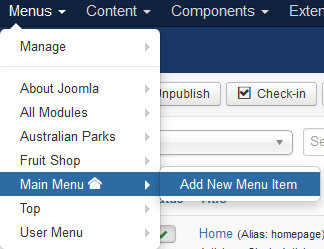
- Click on Menus > Main Menu > Components > Add New Menu Item
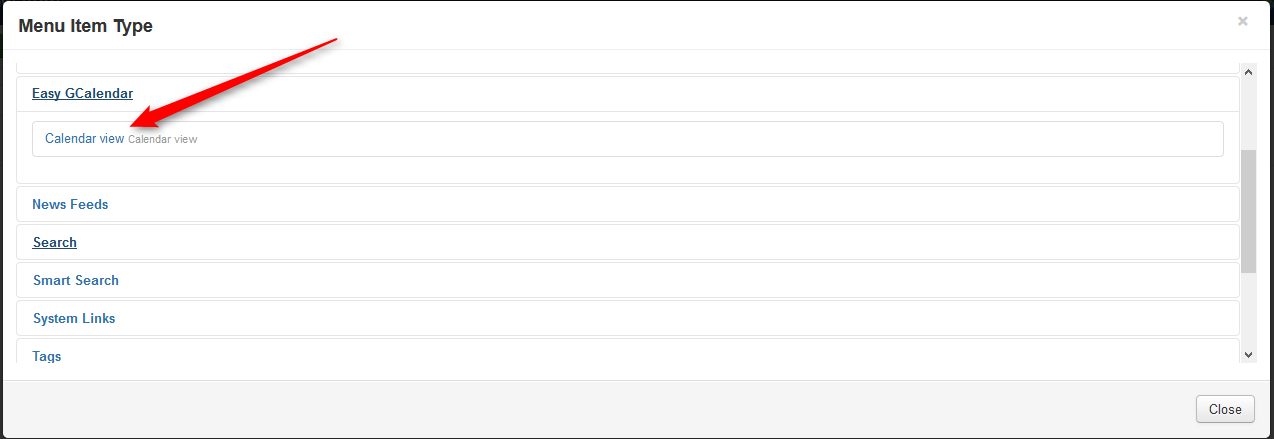
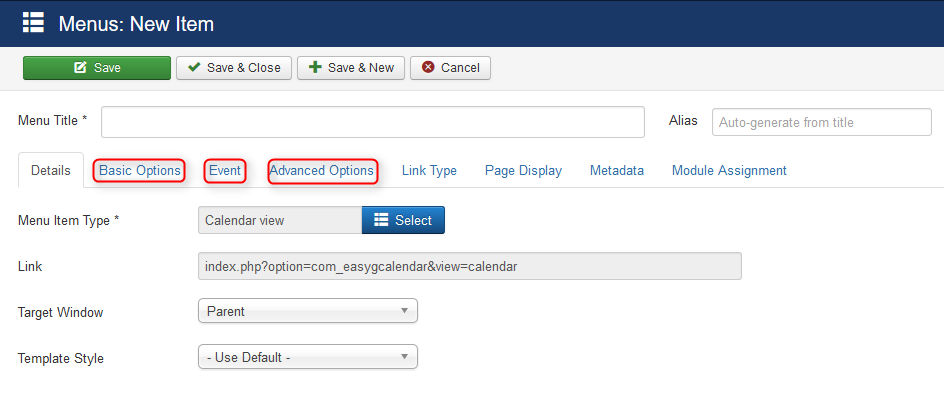
- Select “Easy GCalendar > Calendar view” from Menu Item Type selection possibilities.
After the item type selection you will see the following screen all the red marked tabs contains configuration possibilities to customize the Easy Calendar:
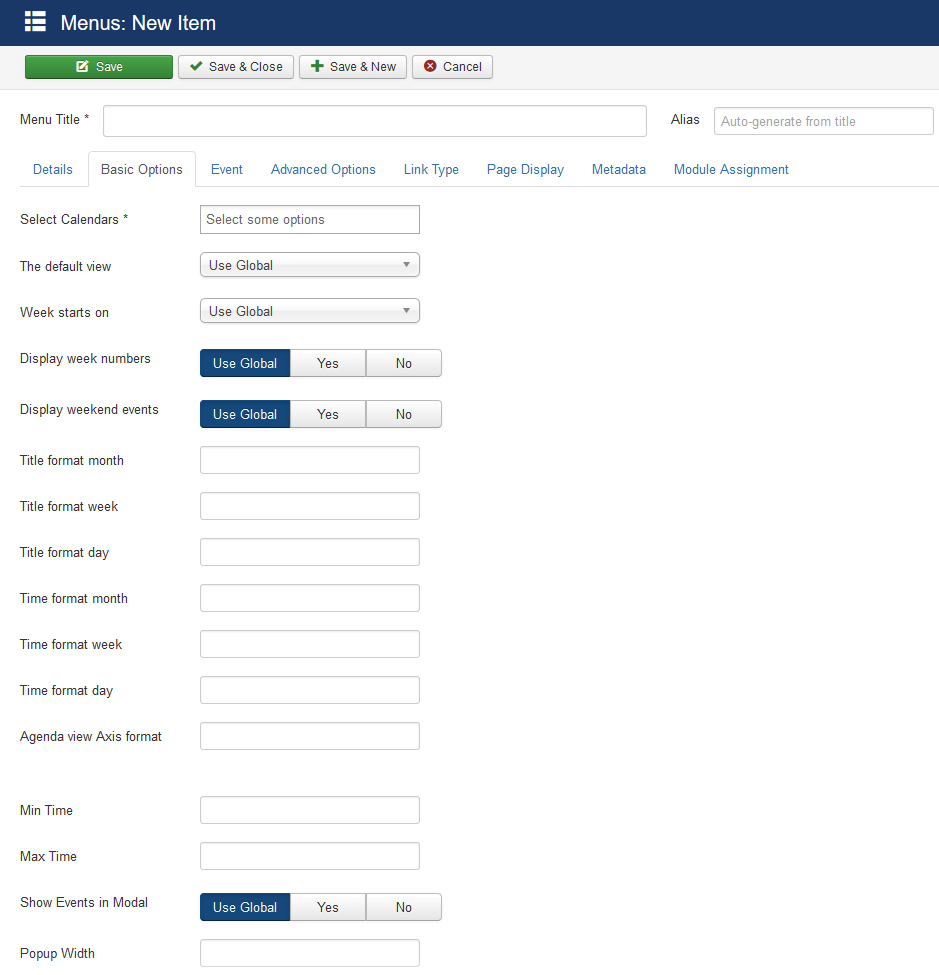
The “Basic Options” Tab contains the configuration possibility to customize the the calendar view:
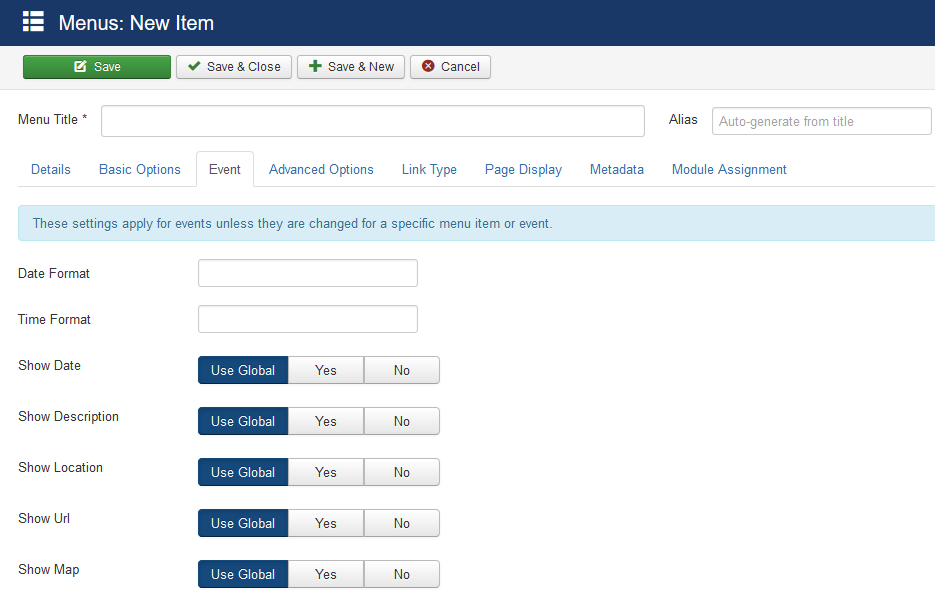
The “Event” Tab contains all possible options to configure the event details view:
Finally, you should now save the new entry by clicking on the “Save & Close” button!
Leave A Comment